Disclosure: As an Amazon Associate I earn from qualifying purchases. How this site works
Choosing a Pour Over Coffee Maker as a Beginner
A beginner-friendly pour over brewer is forgiving of imperfect pouring, easy to find filters for and the right size for how much coffee you drink.
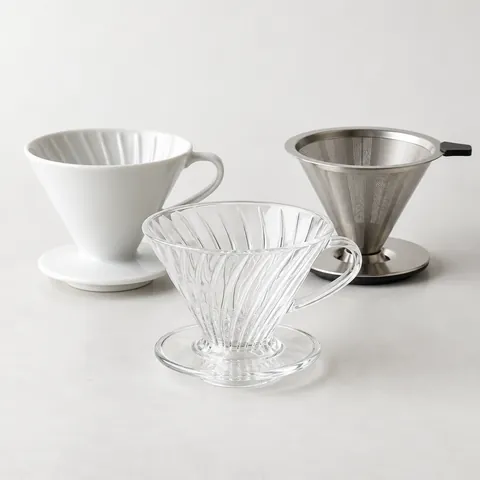 Pour over drippers
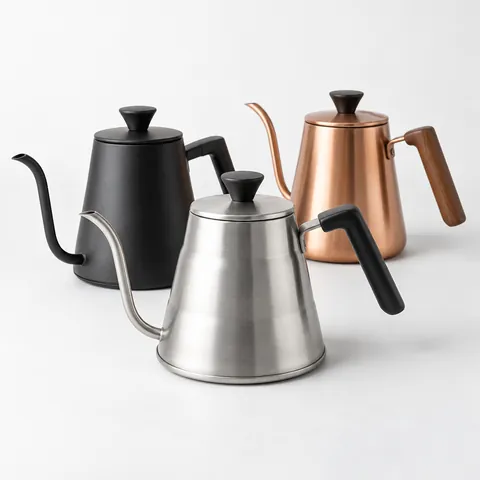 Gooseneck kettles
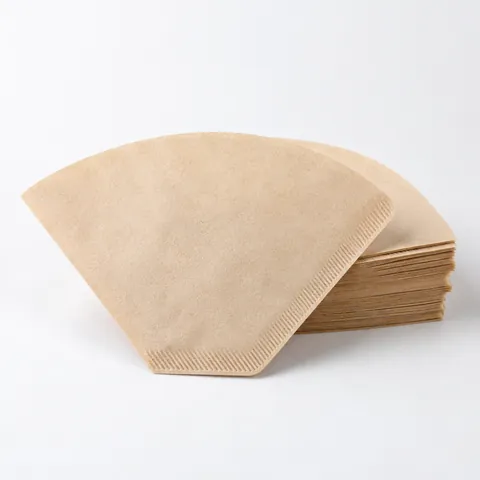 Paper filters
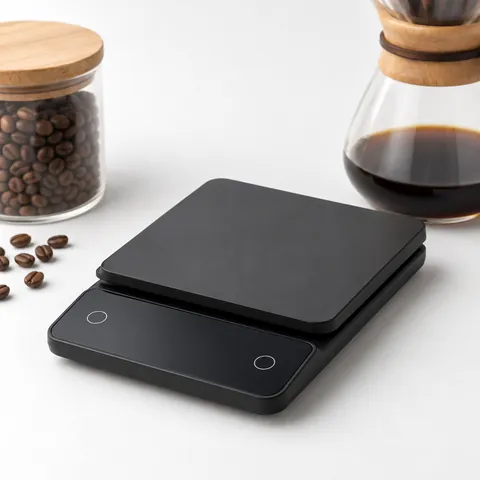 Coffee scales
What makes a brewer forgiving
- A flat bottom or small drain holes that slow the flow, so pouring technique matters less.
- Plastic or pre-heated ceramic to keep temperature stable.
- Widely available filters in supermarkets or online.
Compare pour over drippers and check filter type and size in the listing.
Picks by need
| If you… | Look for |
|---|---|
| Brew one mug | Single-cup dripper with small holes or flat bottom |
| Brew for two or more | Carafe-style brewer or a larger dripper over a jug |
| Travel or camp | Plastic or collapsible silicone dripper |
| Want the cleanest cup | Thick paper filters |
Starter kit
- Dripper and matching filters.
- Kitchen scale.
- Burr grinder or freshly ground coffee from a roaster.
- Kettle (gooseneck optional).
- Mug or carafe.
What size pour over coffee maker should a beginner buy?
Start with the amount you actually drink, not the largest brewer that looks versatile. A dripper that is too large for a small dose can make the coffee bed shallow, which can lead to uneven extraction. A dripper that is too small for your usual mug can overflow or force you to pour in awkward stages.
| Daily coffee habit | Beginner-friendly choice | What to check before buying |
|---|---|---|
| One standard mug | Single-serve dripper | Fits your mug rim, uses easy-to-find filters and holds enough water above the grounds |
| Large travel mug | Larger single-cup dripper or small carafe setup | Total brew volume and clearance under the dripper |
| Two mugs at once | Larger dripper over a server or carafe-style brewer | Filter size, carafe capacity and whether it pours cleanly |
| Different amounts on different days | Medium dripper with matching filters | Minimum and maximum coffee dose recommended by the maker |
If you are unsure, choose a setup that matches your most common weekday brew. You can always brew a second cup, but it is harder to make a too-large brewer behave well with a very small amount of coffee.
Cone vs flat-bottom pour over: which is easier to learn?
Both styles can make good coffee, but they feel different for beginners. Cone brewers usually concentrate the grounds into a deeper bed and often reward a slower, more centered pour. Flat-bottom brewers spread the grounds out and can be more tolerant if your pouring is not perfectly steady.
- Choose a flat-bottom brewer if you want the most forgiving learning curve and you do not want to fuss over exact pour patterns.
- Choose a cone brewer if you like a cleaner, more delicate cup and are willing to practice pouring in small circles.
- Check the filter shape before buying. Cone filters, basket-style filters and proprietary filters are not interchangeable.
- Look at the drain design. One large opening can drain quickly, while several smaller openings often slow the brew and give beginners more margin.
- Avoid buying an unusual brewer as your first setup unless you are comfortable ordering its filters online.
The best first brewer is usually the one that makes repeatable coffee with ordinary habits. If two options look similar, choose the one with filters you can replace easily and a shape that fits your mug or carafe without wobbling.
How to make your first pour over without overthinking it
Use a simple recipe for the first week so you can learn what changes matter. A common starting range is about 1 part coffee to 15 to 17 parts water by weight. For example, if you use 20 grams of coffee, use roughly 300 to 340 grams of water depending on how strong you like it.
- Place the filter in the dripper and rinse it with hot water. This helps seat the filter and warms the brewer. Dump the rinse water before brewing.
- Add medium-ground coffee and gently shake the dripper to level the bed.
- Start a timer and add just enough hot water to wet all the grounds. Wait about 30 to 45 seconds.
- Pour in small, steady additions instead of filling the brewer to the top all at once.
- Keep the water level below the rim of the filter and avoid pouring hard down the sides.
- Let the water drain completely, then swirl the finished coffee before drinking so the cup tastes even.
A coffee scale is more useful than a fancy pouring pattern because it lets you repeat what worked. If your first cup tastes good, write down the coffee amount, water amount, grind setting and total brew time. If it tastes sour, try a slightly finer grind or a little more brew time. If it tastes harsh or drying, try a slightly coarser grind or use a little less agitation when pouring.
Features worth paying attention to before you buy
Small design details affect daily use more than they appear to in product photos. Before buying, look at how the dripper will sit on your mug, how you will clean it and whether the handle or base will be comfortable when hot.
- Stable base: The dripper should sit securely on your mug or server. A wide base is helpful if your mugs have different rim sizes.
- Visible fill level: Clear plastic, glass or an open design makes it easier to see when your mug is getting full.
- Comfortable handle or tabs: You may need to lift the brewer while it is warm, so avoid shapes that are hard to grip.
- Easy cleaning: Smooth surfaces and simple shapes are easier to rinse. Deep ridges and narrow channels can trap grounds.
- Filter availability: Confirm the exact filter size and shape. Stock a spare pack of paper filters so you are not forced to substitute the wrong type.
- Kettle control: A regular kettle can work, but gooseneck kettles make it easier to pour slowly and aim where you want.
Material is also a practical choice. Plastic is light, inexpensive and less likely to pull heat from the brew. Ceramic feels sturdy and looks good on the counter, but it benefits from preheating. Glass lets you see the brew but can break. Metal is durable, though it may get hot to the touch and some designs require careful rinsing.
Beginner mistakes that make pour over harder than it needs to be
Most early problems come from changing too many things at once. Keep the coffee dose and water amount steady while you adjust only one variable, such as grind size or pour speed.
- Grinding too fine can slow the brew, clog the filter and make the coffee taste bitter or dry.
- Grinding too coarse can make water rush through and leave the coffee thin or sour.
- Skipping the filter rinse can leave the filter poorly seated and may add a papery taste.
- Pouring directly on the filter wall can send water around the coffee instead of through it.
- Using a brewer that is too small for the recipe can cause the water level to rise too high and make pouring stressful.
- Judging the brewer after one cup can be misleading. Make several brews with the same coffee before deciding what to change.
If you want the easiest path, use fresh coffee ground for pour over, measure your water, and stop chasing a perfect technique. A steady routine matters more than an elaborate one.
Frequently asked questions
Is pour over coffee hard for beginners?
It is not hard if you start with a forgiving dripper, matching filters and a simple recipe. The main skill is pouring steadily and making small adjustments instead of changing everything at once.
Do I need a gooseneck kettle for pour over?
You do not need one to start, especially with a slower, beginner-friendly brewer. A gooseneck kettle helps because it gives you better control over flow rate and where the water lands.
What grind size should I use for a beginner pour over?
Start around a medium grind, similar to coarse sand, then adjust by taste and brew speed. If the coffee tastes sour or drains very fast, go a little finer. If it tastes bitter or drains very slowly, go a little coarser.
Can I use regular coffee filters in a pour over maker?
Only if the shape and size match the brewer. A poor-fitting filter can collapse, block drainage or let water bypass the coffee. Check the brewer listing or manual for the exact filter type.
Should a beginner choose plastic, ceramic or glass?
Plastic is usually the easiest everyday choice because it is light and holds heat well. Ceramic is attractive and sturdy but should be warmed before brewing. Glass is useful if you like seeing the brew, but it needs more careful handling.
Disclosure: As an Amazon Associate I earn from qualifying purchases. This site may earn a commission when you buy through its links, at no extra cost to you. Product details come from public manufacturer information; always check the merchant page for current specifications and prices. We have not hands-on tested the products described here.